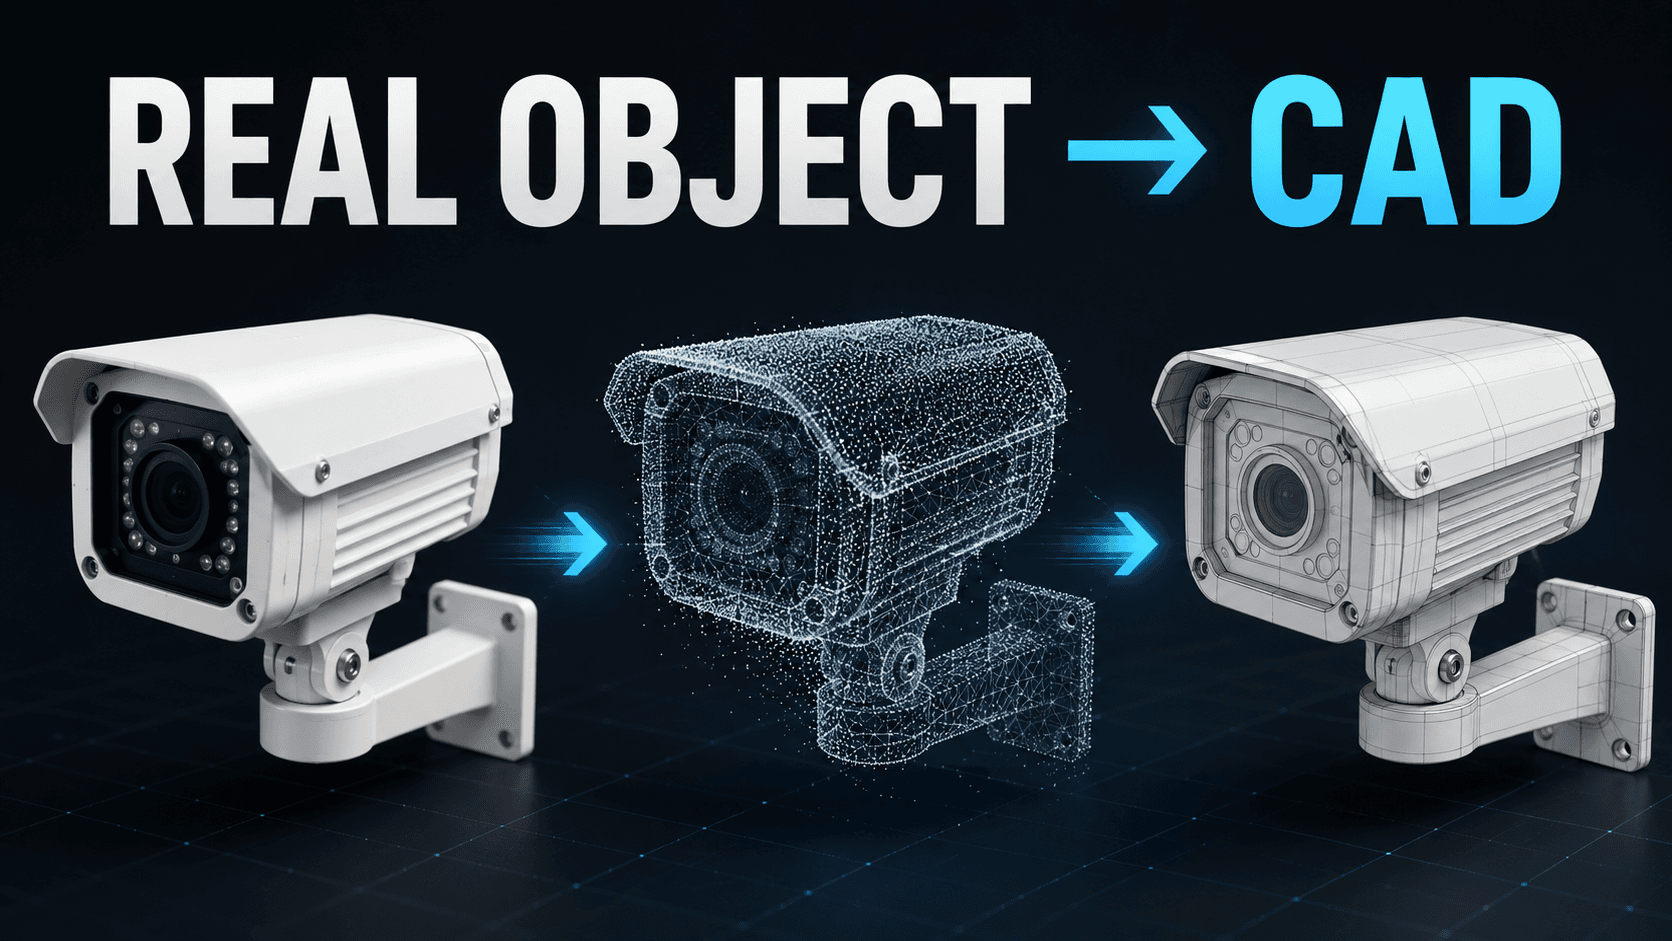
Turning Real Objects into CAD Models
Testing photogrammetry and AI-based 3D generation to bring physical objects into CAD workflows.
When I design something in CAD, even a simple bracket, it is always easier if I already have a 3D model of the machine, device, or equipment around it.
With a 3D model, I can quickly check how the new part looks, whether it interferes with anything, and how it fits into the overall system. It also makes documentation much easier. A screenshot from CAD explains the idea much better than a long paragraph.
But in the real world, we often do not have clean CAD data for existing machines or equipment.
Of course, if the manufacturer provides the CAD model, that is ideal. But if not, we need to create the model ourselves. And honestly, building a 3D CAD model from scratch is painful. Unless it is absolutely necessary, it is the kind of task I tend to postpone.
Recently, though, 3D reconstruction tools have become much more practical. We can now reconstruct objects from videos, multiple photos, or even a single image, convert them into meshes, and bring them into CAD.
So I wanted to test a practical workflow:
Can I take a real object, reconstruct it as a 3D mesh, and use it inside CAD for layout checks and interference checks?
This time, I used a small network camera as the test object.

It is a common industrial-style network camera: a white metal housing, a camera unit on one side, and a rear box where cables such as LAN are connected. I chose it because it is small and easy to test quickly.
Photogrammetry with Meshroom
There are many possible methods, but I started with a classic and very well-known tool: Meshroom.
Meshroom is an open-source photogrammetry tool based on AliceVision. In simple terms, photogrammetry tries to reconstruct a 3D model from multiple 2D images.
The rough idea is:
Detect feature points in each image
Match the same points across multiple images
Estimate the camera positions
Create a sparse point cloud
Create a dense point cloud
Generate a mesh
Apply texture
So instead of modeling the object manually, we let the software estimate the 3D shape from many photos taken from different angles.
For this test, I captured around 30 seconds of video with a smartphone. Then I extracted frames using FFmpeg:
ffmpeg -i input.mp4 \
-vf "fps=2" \
frames/frame_%05d.jpg
This gave me around 60 images.

In a proper photogrammetry workflow, it would be better to remove blurry images before processing. Even better, instead of recording video, I should take high-quality still images one by one from many angles.
But for this first test, I wanted to see how far I could get with a quick video capture.
Then I opened Meshroom, selected the Photogrammetry pipeline, and loaded the images.

After loading the images, they appeared in the Image Gallery. The Graph Editor also automatically generated the photogrammetry pipeline.
One small but important note: if nothing appears in the Graph Editor, the pipeline is not ready. In that case, the reconstruction will not run correctly.
After that, I clicked the Start button at the top, and Meshroom started the full 3D reconstruction process automatically.

When the process finished, the result appeared in the 3D Viewer on the right side. I could see both the reconstructed object and the estimated camera positions.
Then I exported the result as an OBJ file and opened it in Blender to check the shape.

The result was usable as a rough mesh, but honestly, the camera shape was not very good. There were unwanted parts such as the desk, and the main object surface was rough and noisy.
Of course, I could delete the unnecessary parts in Blender. But as a model of the camera itself, the quality was not quite enough.
Photogrammetry with RealityScan
Next, I tried RealityScan from Epic Games.
Many people may know the smartphone app version, but there is also a desktop/Linux workflow, so I tested that as well.

The overall workflow is similar to Meshroom: load multiple images, align them, and generate a 3D model.
However, the operation flow is slightly different.
In Meshroom, pressing Start runs the whole pipeline automatically, from feature extraction to meshing.
In RealityScan, I first ran Align Images. This step performs feature extraction, image matching, camera estimation, and point cloud generation.


After confirming that the alignment looked reasonable, I ran Calculate Model to generate the 3D mesh.

The result was also not as clean as I hoped.
Again, this does not mean RealityScan is weak. RealityScan is a very powerful photogrammetry tool. The issue was probably my input data.
I think the main problems were:
I extracted still images from a handheld video, so some frames were blurry or motion-blurred.
The target object was mostly white, so it did not have many easy-to-detect visual features.
I did not capture enough angles carefully. I just moved around the object quickly with a phone.
The desk and background were also included, which made the reconstruction harder.
If I improved these points, I think both Meshroom and RealityScan could create much better models.
Still, for this kind of small, white, smooth industrial object, photogrammetry can easily create a bumpy mesh. Even if the overall shape is reconstructed, the surface may not be clean enough for CAD-style visualization.
So I decided to try another approach: AI-based single-image 3D generation.
Hunyuan3D-2.1
The first AI-based tool I tested was Tencent Hunyuan3D-2.1.
Hunyuan3D-2.1 can generate a 3D asset from an image. It is probably more commonly used for games, digital content, and 3D assets rather than mechanical CAD.
I will skip the full setup here because the GitHub repository already explains it, but the model is quite large and requires a reasonably powerful machine.
My environment was:
OS: Ubuntu 22.04
RAM: 64 GB
GPU: NVIDIA RTX 4090
The easiest way for me was to launch the official Gradio app:
python3 gradio_app.py --model_path tencent/Hunyuan3D-2.1 --subfolder hunyuan3d-dit-v2-1 --texgen_model_path tencent/Hunyuan3D-2.1 --low_vram_mode

Then I uploaded a single image of the camera.

The result was generated quickly on my local machine.


Compared with the photogrammetry results, the surface was much smoother. The overall shape was also close to what I expected.
This was impressive because it used only one image.
The tool can export several model formats. For bringing the model into CAD, STL is usually a convenient choice, although OBJ can also be useful depending on the workflow.
Of course, this is not a dimensionally accurate engineering model. It is not a replacement for proper measurement or reverse engineering.
But for visual checks, rough layout studies, and early-stage design discussion, it is already quite useful.
TripoSG
Next, I tested TripoSG, another image-to-3D model.
I used the same single input image as before.
After setting up the environment following the official GitHub repository, I ran the inference script and generated a 3D mesh.
Before importing it into CAD, I opened the output in Blender.


This result was excellent.
The overall shape looked better than the previous results in this test. The surface was smooth, the camera body was recognizable, and unwanted parts such as the desk were automatically removed.
For this specific object and this specific input image, TripoSG gave me the best-looking model.
So I decided to use the TripoSG output for the CAD test.
In Blender, I exported the generated OBJ file as an STL file.
Importing the mesh into CAD
Finally, I opened the STL file in Autodesk Fusion.

The mesh loaded without any major issue.
There are some important limitations.
First, the scale needs to be corrected. AI-generated models and photogrammetry models are often not created at the exact real-world size unless we add scale references or manually adjust them.
Second, this is still a mesh. It is not the same as a clean parametric CAD model. I cannot simply grab a surface and extend it like I would with a normal CAD body.
But for my purpose, it was useful.
I could place the camera model near other equipment, check the approximate appearance, and think about the installation layout.

For interference checks, visual confirmation, and documentation, this workflow feels very promising.
Practical Takeaways
This test was not about creating a perfect engineering CAD model.
The real question was more practical:
How far can we go if we just want to bring a real-world object into CAD quickly enough for design support?
For that purpose, this workflow is already useful.
The most important point is to separate two different goals.
If you need accurate dimensions, clean surfaces, and editable CAD features, neither quick photogrammetry nor single-image AI generation is enough by itself. You still need proper measurement, reverse engineering, or manual CAD modeling.
But if you need a model for visual checks, layout studies, interference checks, installation planning, or documentation, these tools can save a lot of time.
From this test, I would use the tools differently depending on the purpose.
Photogrammetry tools like Meshroom and RealityScan are powerful when you can prepare good input images. They are especially useful when you can take many sharp photos from many angles under good lighting. However, the result depends heavily on image quality. Smooth, white, reflective, or low-texture objects can be difficult. Blurry frames from video can also make the result much worse.
AI-based tools like Hunyuan3D-2.1 and TripoSG are different. They may not reproduce the exact dimensions, but they can create a clean and recognizable mesh very quickly from just one image. For early-stage CAD visualization, this can be more useful than a noisy photogrammetry mesh.
So my current practical rule is:
Use photogrammetry when geometry accuracy from multiple real images matters. Use AI-based image-to-3D when speed and visual quality matter more.
For this specific test, TripoSG gave the most practical result. The model was clean, the object shape was easy to recognize, and unnecessary background parts were mostly removed automatically. After exporting it through Blender as an STL file, I could import it into Fusion and use it as a reference object.
This does not replace real CAD data.
But it creates a useful middle ground between “I have no model at all” and “I need to manually model everything from scratch.”
For industrial automation, robotics, equipment layout, and field engineering work, that middle ground is valuable. Many times, we do not need a perfect model at the beginning. We just need something close enough to support discussion, check space, explain an idea, or avoid obvious design mistakes.
In future tests, I want to compare more workflows, including better photogrammetry capture, Gaussian Splatting, multi-image AI reconstruction, and hybrid pipelines.
The bigger direction is clear:
The gap between real-world objects and CAD workflows is getting smaller.
And that could make practical engineering design much faster.